Installation guide
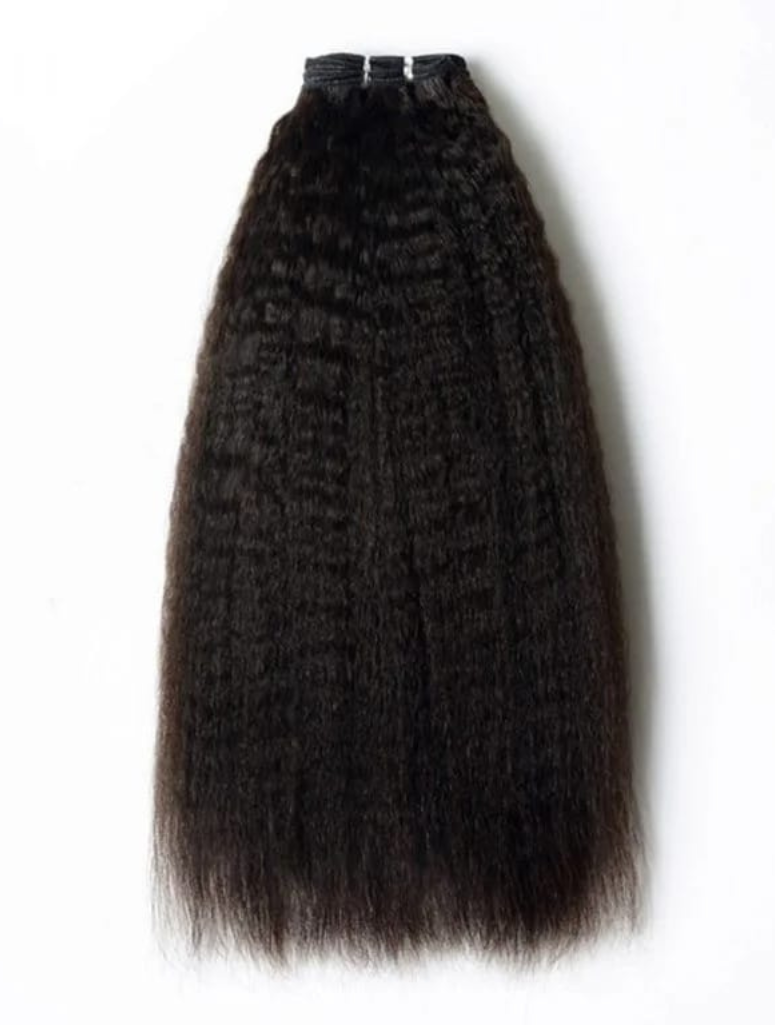
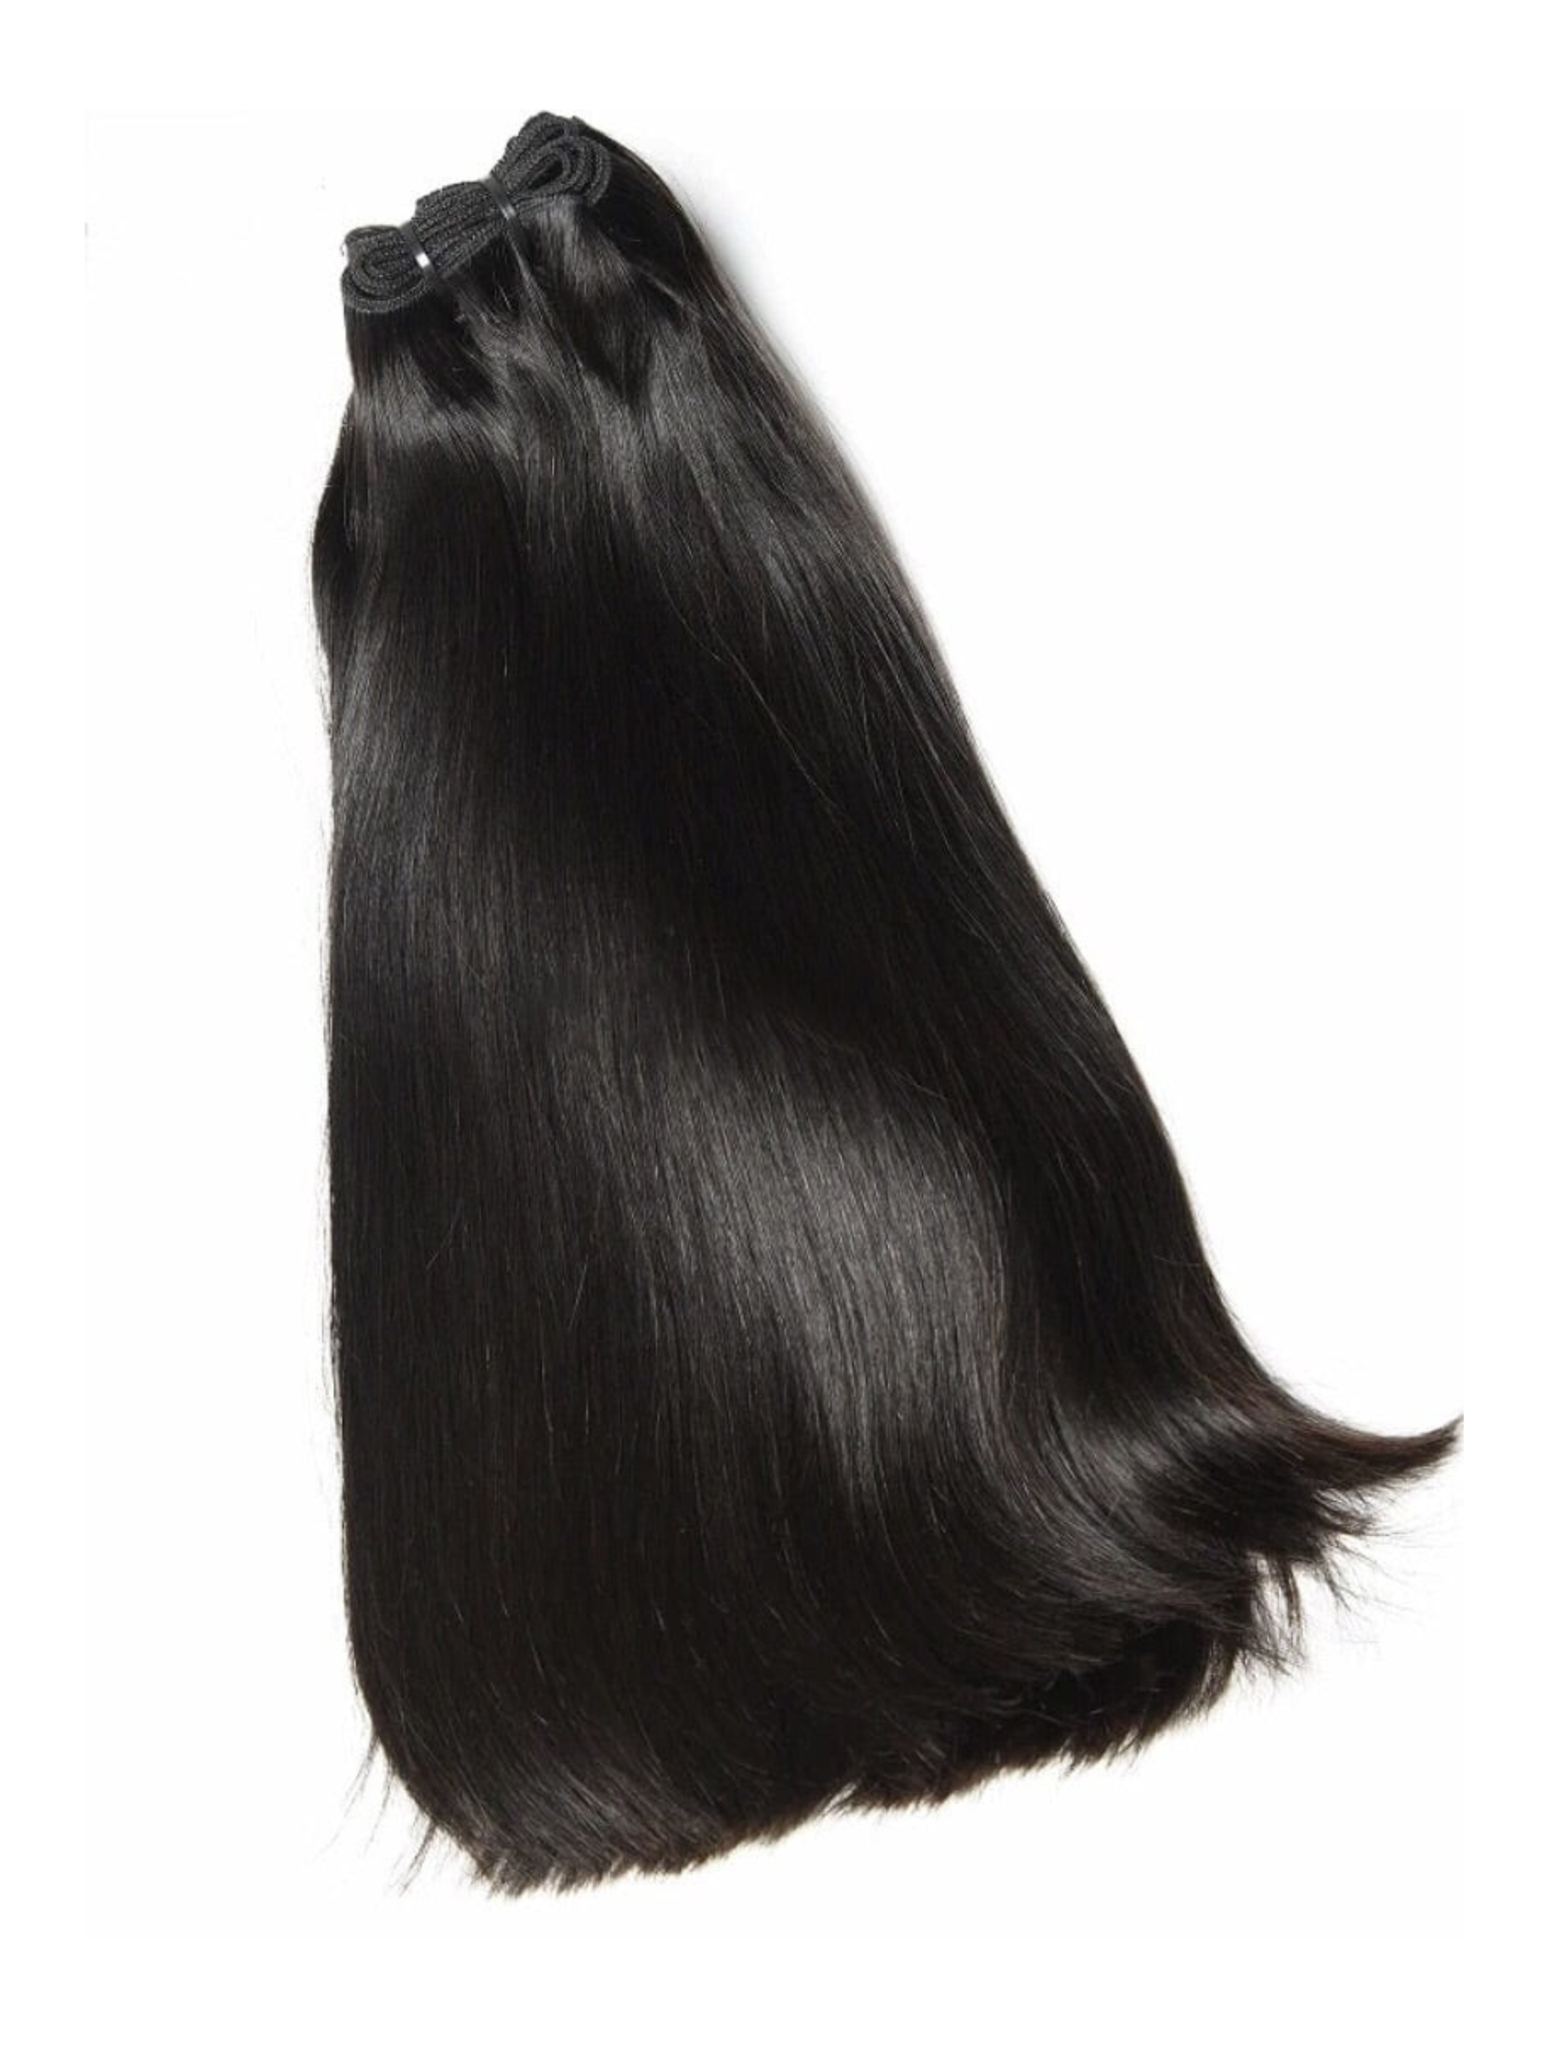
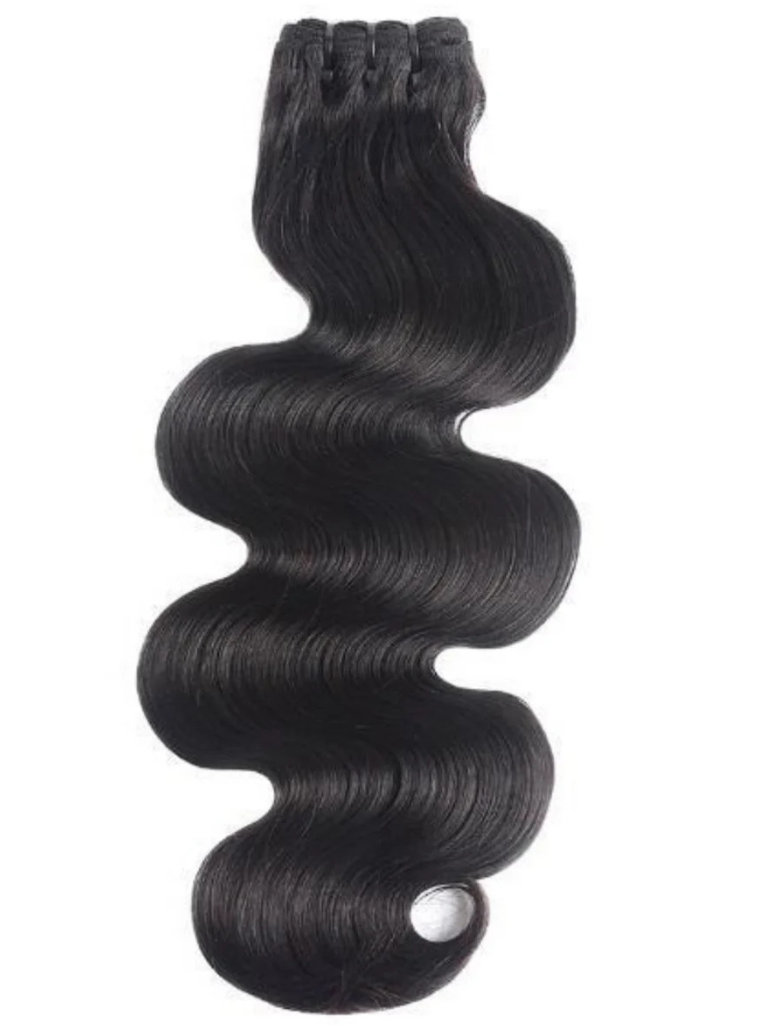
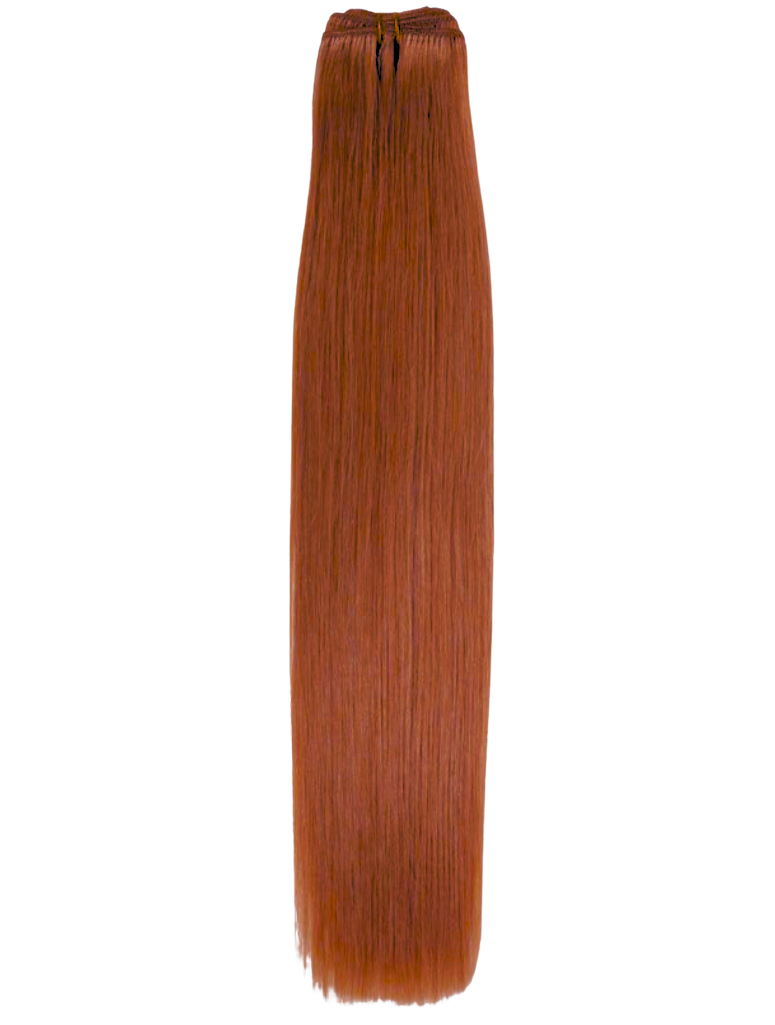
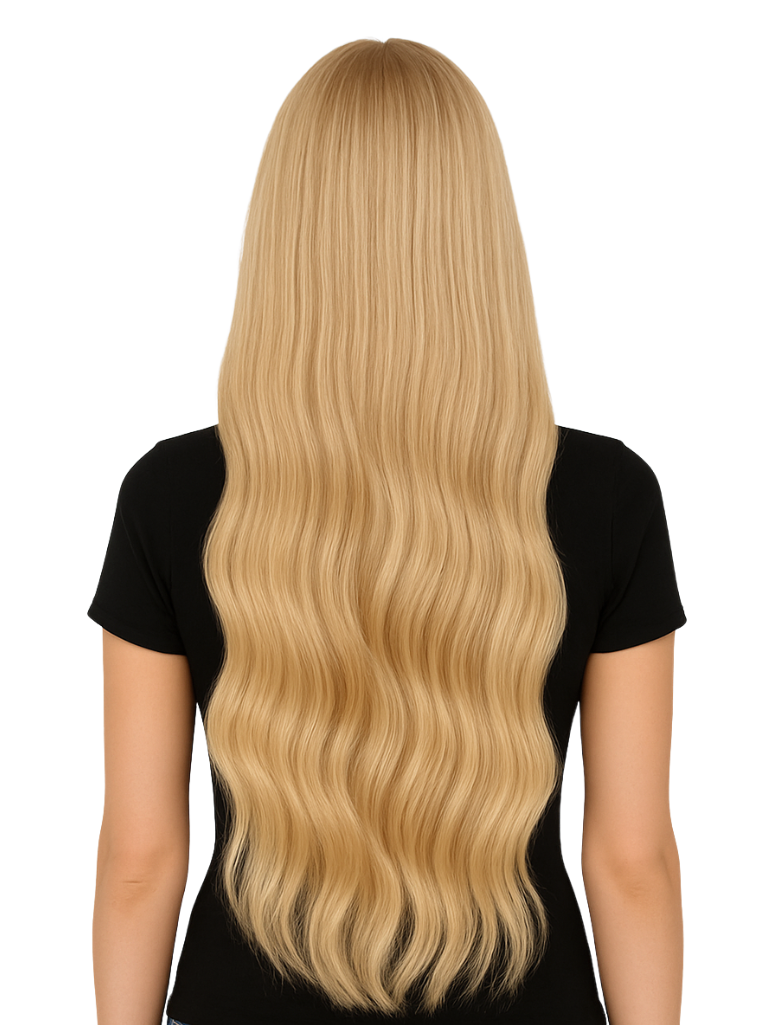
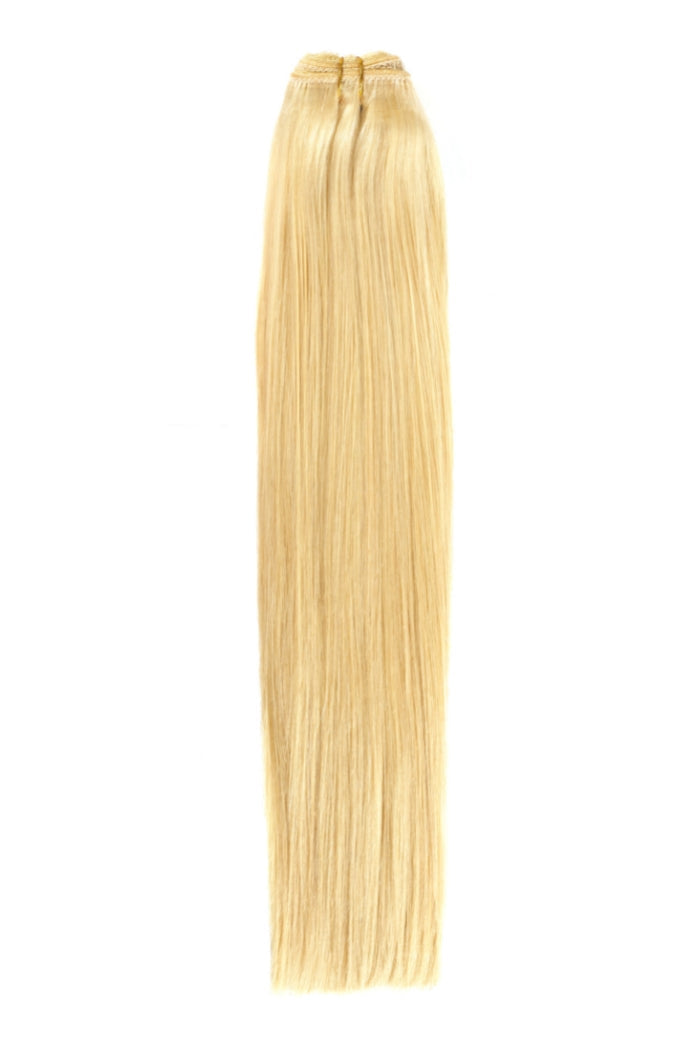
weave extensions
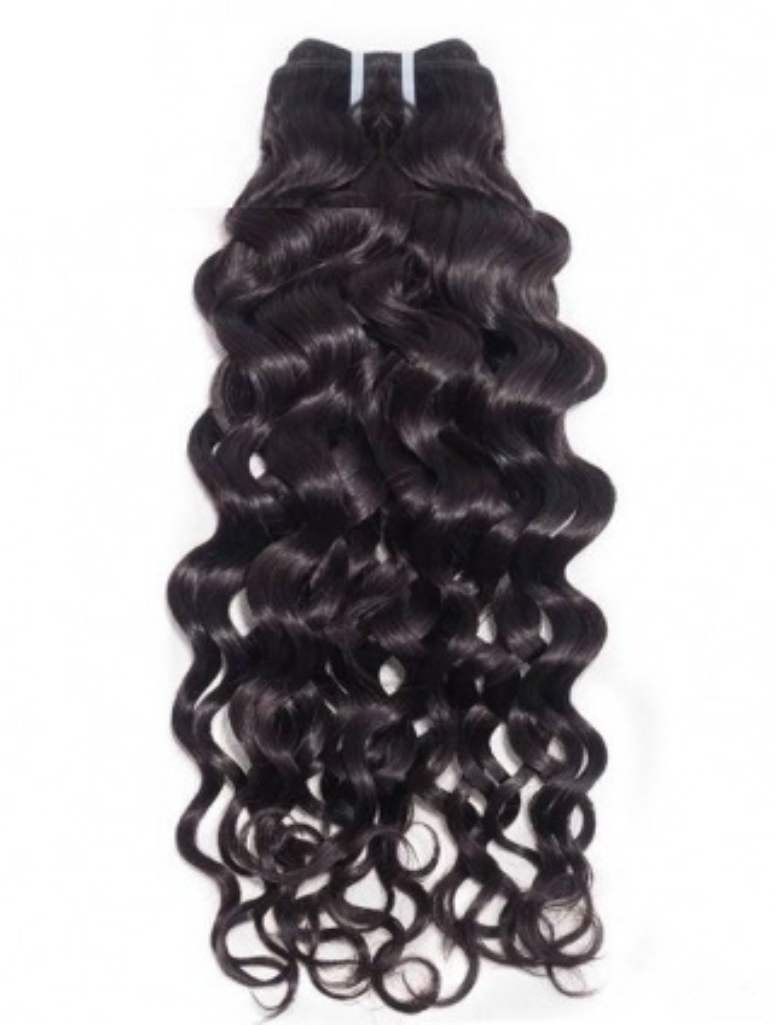
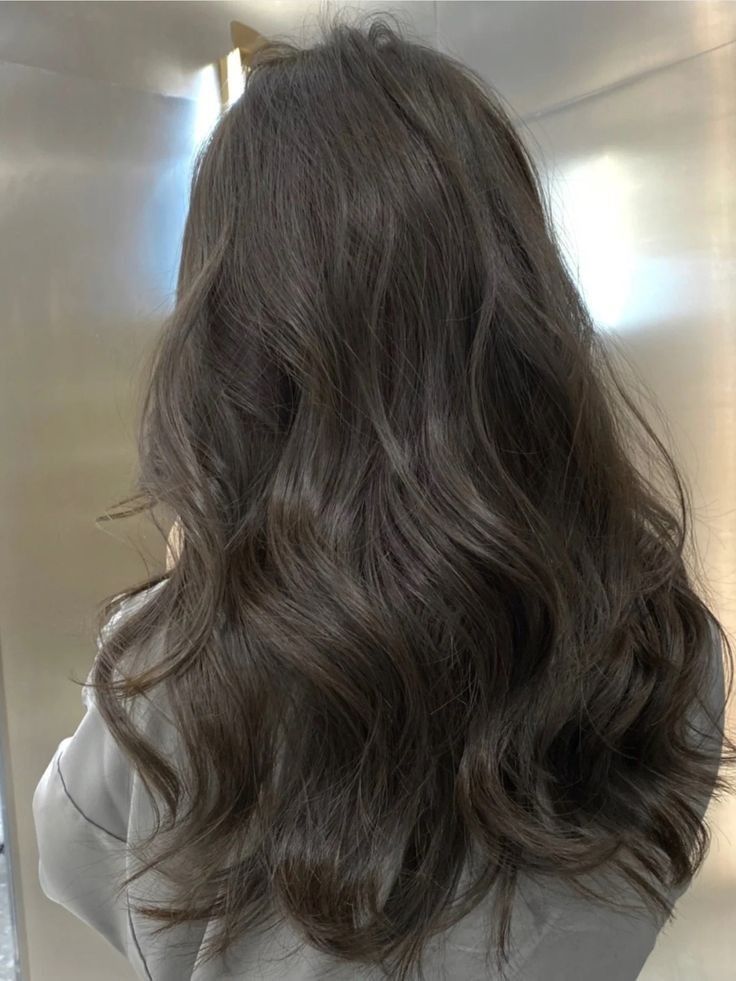
Weave extensions are a versatile and popular method for adding volume and length to natural hair. It is highly recommended to have weave extensions installed by a professional stylist to ensure proper application and avoid potential damage. Attempting to install them yourself is at your own risk. They can be installed using various techniques, each suited for different needs and preferences. Below are the most common methods for installing weave extensions:
A great sew-in can transform your look, add length, and boost your confidence, but achieving that perfect finish starts long before the needle and thread come out. Whether you’re a seasoned sew-in enthusiast or trying it for the first time, here’s a step-by-step journey to ensure your sew-in not only looks stunning but also keeps your natural hair protected and healthy.
1. Preparing Your Natural Hair: The Foundation of a Flawless Sew-In
Before you even think about installing your extensions, it's essential to prepare your natural hair. Start with a clean slate by washing and deep conditioning your hair to ensure it’s hydrated and healthy. Once your hair is clean and conditioned, braid it into cornrows. These braids form the base for your sew-in and play a big role in how natural the final result will look.
💡 Pro Tip: For added protection, consider wearing a thin, breathable protective cap over your braids. This optional step helps shield your natural hair from needle damage during the sew-in process.
Before moving on to the next step, lightly oil your scalp between the braids with a non-greasy, lightweight scalp oil. This keeps your scalp hydrated without weighing it down or creating buildup. A healthy scalp is key to a long-lasting and comfortable sew-in!
2. The Sew-In Process: Crafting the Perfect Install
Now that your natural hair is ready, it's time for the magic to happen. The sewing process is as much about technique as it is about precision. Here’s how to do it like a pro:
- Tools of the Trade: Use a curved needle and weaving thread designed for sew-ins. These tools make the process easier and safer for your natural hair.
- Preserve the Weft: Always sew around the weft instead of through it. This prevents unnecessary shedding and maintains the integrity of your extensions.
- Layer Like a Pro: Start from the back of your head, sewing the wefts onto your cornrows in horizontal layers. For a natural look and proper airflow to the scalp, space the rows evenly—about half an inch apart is ideal.
- Handle with Care: Avoid cutting the wefts whenever possible. If you must cut them, seal the ends with glue or sew them closed to prevent shedding.
- The Perfect Fit: Follow the natural curve of your head as you sew, ensuring the wefts sit snugly without being too tight. Knot the thread tightly at the start and end of each row for extra security.
3. Finishing Touches: Blending and Styling
Once the sewing is complete, it’s time to style your sew-in and make it your own. Whether you’re aiming for sleek sophistication or voluminous curls, blending is the key to making your extensions look natural.
- Customize Your Look: Trim and style the extensions to match your vision. If your natural hair’s texture doesn’t match the extensions, don’t worry! A closure or frontal can create a seamless finish. These additions cover your natural hairline and blend effortlessly with the extensions.
- Leave-Out Magic: If you prefer a leave-out, ensure the texture of your natural hair matches the extensions. This step is essential for a flawless blend.
Bonus Tips for Longevity and Comfort
- Protect your sew-in while sleeping by wearing a satin or silk scarf to reduce friction.
- Keep your scalp clean by gently cleansing between the tracks every 1-2 weeks.
- Moisturize your leave-out and edges to prevent breakage and maintain a polished look.
With proper preparation and care, your sew-in can last for weeks while looking fresh and fabulous. By following these steps, you’re not just installing extensions—you’re elevating your style with confidence and care. So go ahead, enjoy your flawless sew-in, and turn heads wherever you go!
When it comes to achieving a seamless, natural look without the bulk of traditional extensions, the microlink method stands out. Loved for its lightweight feel and versatility, this method is perfect for those who want the freedom to style their hair without the need for glue or braids. Here’s everything you need to know about the microlink process, from preparation to styling.
Preparation: Setting the Stage
The foundation of a flawless microlink installation is healthy, well-prepped hair. Start by washing and detangling your natural hair thoroughly. Clean hair ensures a secure grip for the microlinks and prevents slippage over time.
💡 Pro Tip: Use a clarifying shampoo to remove any buildup and a lightweight conditioner to keep your hair moisturized without weighing it down.
Once your hair is prepped, section it into small, neat parts. Precision in sectioning is key for a balanced, natural result, as this ensures the microlinks are evenly distributed across your scalp.
Installation: The Microlink Magic
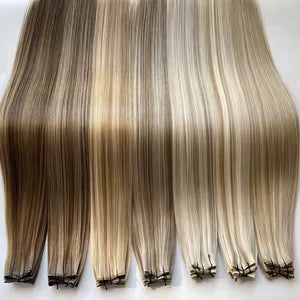
Now comes the heart of the process—attaching the extensions. Using a threading tool, pull a small section of your natural hair through a microlink bead. The bead serves as a connector, securing the extension weft to your natural hair.
- Clamp with Care: Insert the weft into the microlink bead and clamp it securely with pliers. Proper clamping ensures the extensions stay in place without causing damage to your natural hair.
- Even Distribution: Ensure the microlinks are spaced evenly for a balanced, natural appearance. This not only improves the aesthetic but also prevents uneven weight distribution that could lead to tension or discomfort.
Styling and Maintenance
Once the extensions are installed, it’s time to style your hair and make it your own. The beauty of microlink extensions lies in their flexibility—you can curl, straighten, or braid them just like your natural hair.
- Seamless Blending: Distribute the microlinks evenly for a cohesive look that flows naturally with your hair.
- Gentle Maintenance: To keep your extensions looking fresh, avoid heavy oils or products that might loosen the beads. Stick to lightweight, non-greasy products that nourish your hair without compromising the installation.
Why Choose Microlinks?
Microlinks are a game-changer for anyone seeking a natural, lightweight alternative to traditional extensions. They allow for more styling options, don’t require braids or glue, and are gentle on your natural hair when installed correctly. Whether you’re going for a sleek, everyday look or something more glamorous, microlinks offer the versatility you need.
💡 Note: While microlinks are DIY-friendly for experienced users, it’s highly recommended to have them installed by a professional stylist to avoid damage and ensure a secure, lasting result.
With proper care and attention, microlink extensions can transform your hair game, giving you the volume, length, and style freedom you’ve always wanted. Ready to try them out? Start with healthy hair, follow these steps, and watch your transformation come to life!
For those who love switching up their look quickly and affordably, the quick weave method is a go-to solution. Offering versatility and ease, this method allows you to achieve a polished hairstyle in no time. Whether you’re new to extensions or a seasoned pro, here’s a complete guide to installing and rocking a quick weave.
Preparation: Building a Solid Foundation
The first step to a successful quick weave is creating a flat and secure base for your extensions. Here’s how to prepare:
- Start with Clean Hair: Wash your natural hair thoroughly and detangle it to ensure a smooth base. You can either braid your hair into cornrows or slick it back with a strong gel to create a flat surface.
- Apply a Protective Cap: Protecting your natural hair is key to maintaining its health. Place a wig cap over your braided or slicked-back hair, securing it in place. This cap acts as a barrier, shielding your hair from the adhesive used in the quick weave process.
💡 Pro Tip: If your scalp tends to get dry, apply a lightweight oil before putting on the wig cap to lock in hydration.
Installing the Quick Weave: Fast and Flexible
Once your foundation is set, it’s time to install the extensions. The quick weave process is designed to be straightforward, making it ideal for achieving a fresh look in minimal time.
- Apply Bonding Glue:
- Layer the Extensions:
Finishing Touches: Blend and Style
The beauty of a quick weave is its ability to mimic natural hair effortlessly. Once the extensions are installed, trim and style them to match your vision.
- Customize the Look: Shape the extensions to suit your face and desired hairstyle, whether it’s a sleek bob, flowing waves, or a voluminous blowout.
- Blend Like a Pro: If you’re leaving out a section of your natural hair, ensure it matches the texture and color of the extensions for a cohesive look.
💡 Optional Add-On: Use edge control to smooth and style your edges for a polished finish.
Why Choose Quick Weave?
Quick weaves are perfect for anyone seeking a budget-friendly, time-saving alternative to traditional sew-ins. They’re especially great for short-term styles or trying out a new look without a long-term commitment. With proper care, a quick weave can last up to 2-4 weeks, giving you plenty of time to enjoy your new hairstyle.
Caring for Your Quick Weave
To maintain your quick weave and keep it looking fresh:
- Protect It While Sleeping: Wrap your hair in a satin or silk scarf to reduce friction and preserve the style.
- Avoid Heavy Products: Use lightweight styling products to prevent buildup on the extensions and the bonding glue.
- Stay Dry: Avoid excessive moisture, as it can weaken the glue and shorten the lifespan of your quick weave.
With the quick weave method, you can achieve salon-quality results in the comfort of your home—or let a professional handle the process for an even more flawless finish. Whatever your choice, the quick weave offers endless possibilities for expressing your unique style.
Ready to reinvent your look? Dive into the world of quick weaves and discover the beauty of effortless transformation!
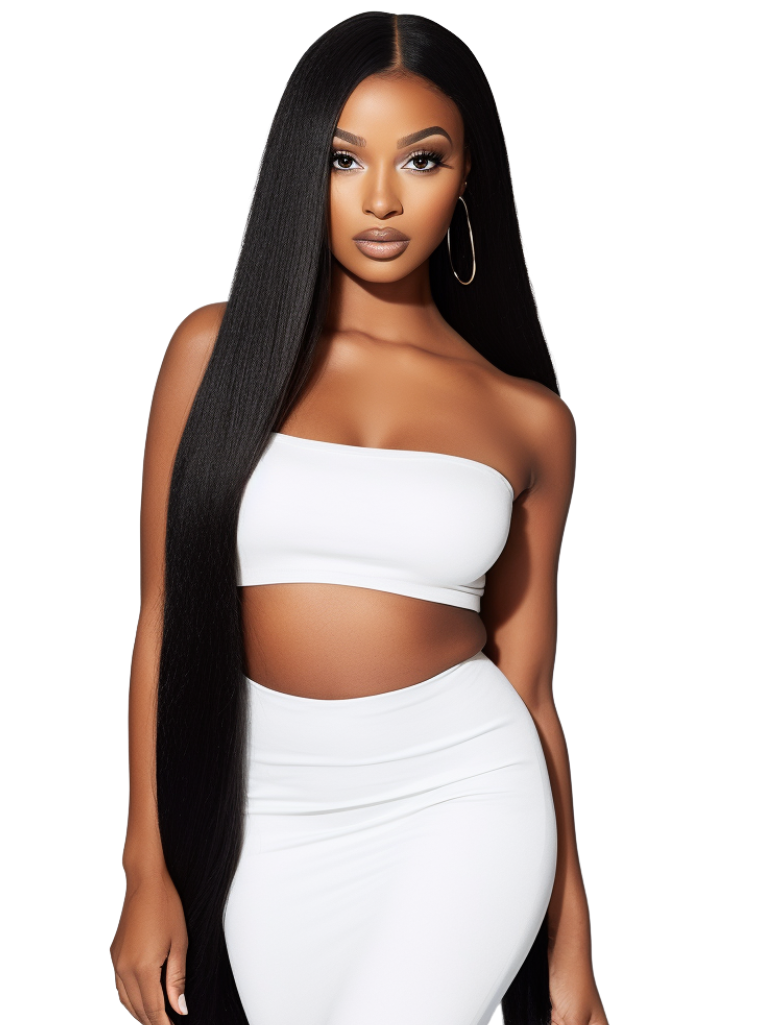
Whether you prefer the durability of a sew-in, the natural flexibility of microlinks, or the quick transformation of a quick weave, there’s a method to suit your style and needs. With proper preparation and care, you can achieve a flawless, confident look.
Explore our premium weave extensions and discover the perfect foundation for your next hairstyle!
Filters